Here is a screen-shot of a few entities I have created so far. I have come to a point where I can safely tell more in depth of my work as I am more secure about how I do things and I feel that I have enough quality in everything. I’ll tell a bit about my work process and more in depth of how Unreal Engine works and other programs that I use.
Photoshop
I Mainly use Photoshop as a tool to create all the 2D graphics for our game Temple of Light, I occasionally create concept art for our 3D artists so that they have something to follow. But this week I have mainly created more materials for meshes and more tile-able textures. My work process is quite simple, First I consult with my superior to see if there is anything in particular he wants in a material. After I have gotten some direction I start to make the details. I usually start with the color of the mesh or material, mainly I keep it simple to see if everything aligns on the mesh in Unreal Engine 4, if it does I know for sure that I can continue. After that I continue with making the Normal map, I usually use Crazybump to make my Normals. At this point I start with making a gray scaled drawing in Photoshop, the whites makes the high points for the Normal while the darker ones makes cavities in it. This understanding makes it easy to paint in Photoshop to make a Normal later on in Crazybump. The image below shows a complete example of how my height planning looks before it has been brought into Crazybump.

CrazyBump
From Crazybump I can get a normal out of my Height map which I created in Photoshop. The Normal map is the main file I usually get from Crazybump, I rarely collect other maps such as Diffuse, Specular, Occlusion or Displacement maps. There is rarely a use for them for me as we don’t need them, but I do take them if I get an idea of how I can use a particular map, example-wise I might use any map from Crazybump to improve my diffuse map to get out more details. I tend to go back to Crazybump several times over to create different details on my Normal map. You can combine several Normals in Photoshop by using overlay in layers. You can see on the picture underneath what Crazybump looks like.

Unreal Engine 4
As you may see Unreal Engine 4 takes care of lighting very well, as on this picture I have only applied a Metallic, Roughness and a Normal map. Under all of them is a very plain and simple diffuse map.

See picture below for comparison.

This Image is in unlit mode, which means no details at all is shown. It turns off Normals, Roughness and Metallics, it only shows the Diffuse map.
Normals is not anything new, while on the other hand Roughness and Metallics are. Unreal Engine 4 have replaced Specular maps with these two instead, Unreal Engine 4 can still handle Specular maps but these maps work in a better way, they reflect and bounce lighting from other materials and meshes while a Specular map only makes out which part should be light and dark.
Roughness and Metallic maps are quite simple in how they work, they are only formed up with a gray-scale. The more white they are the more rough or metallic it will get and the more black it is the less metallic or Rough it will be.
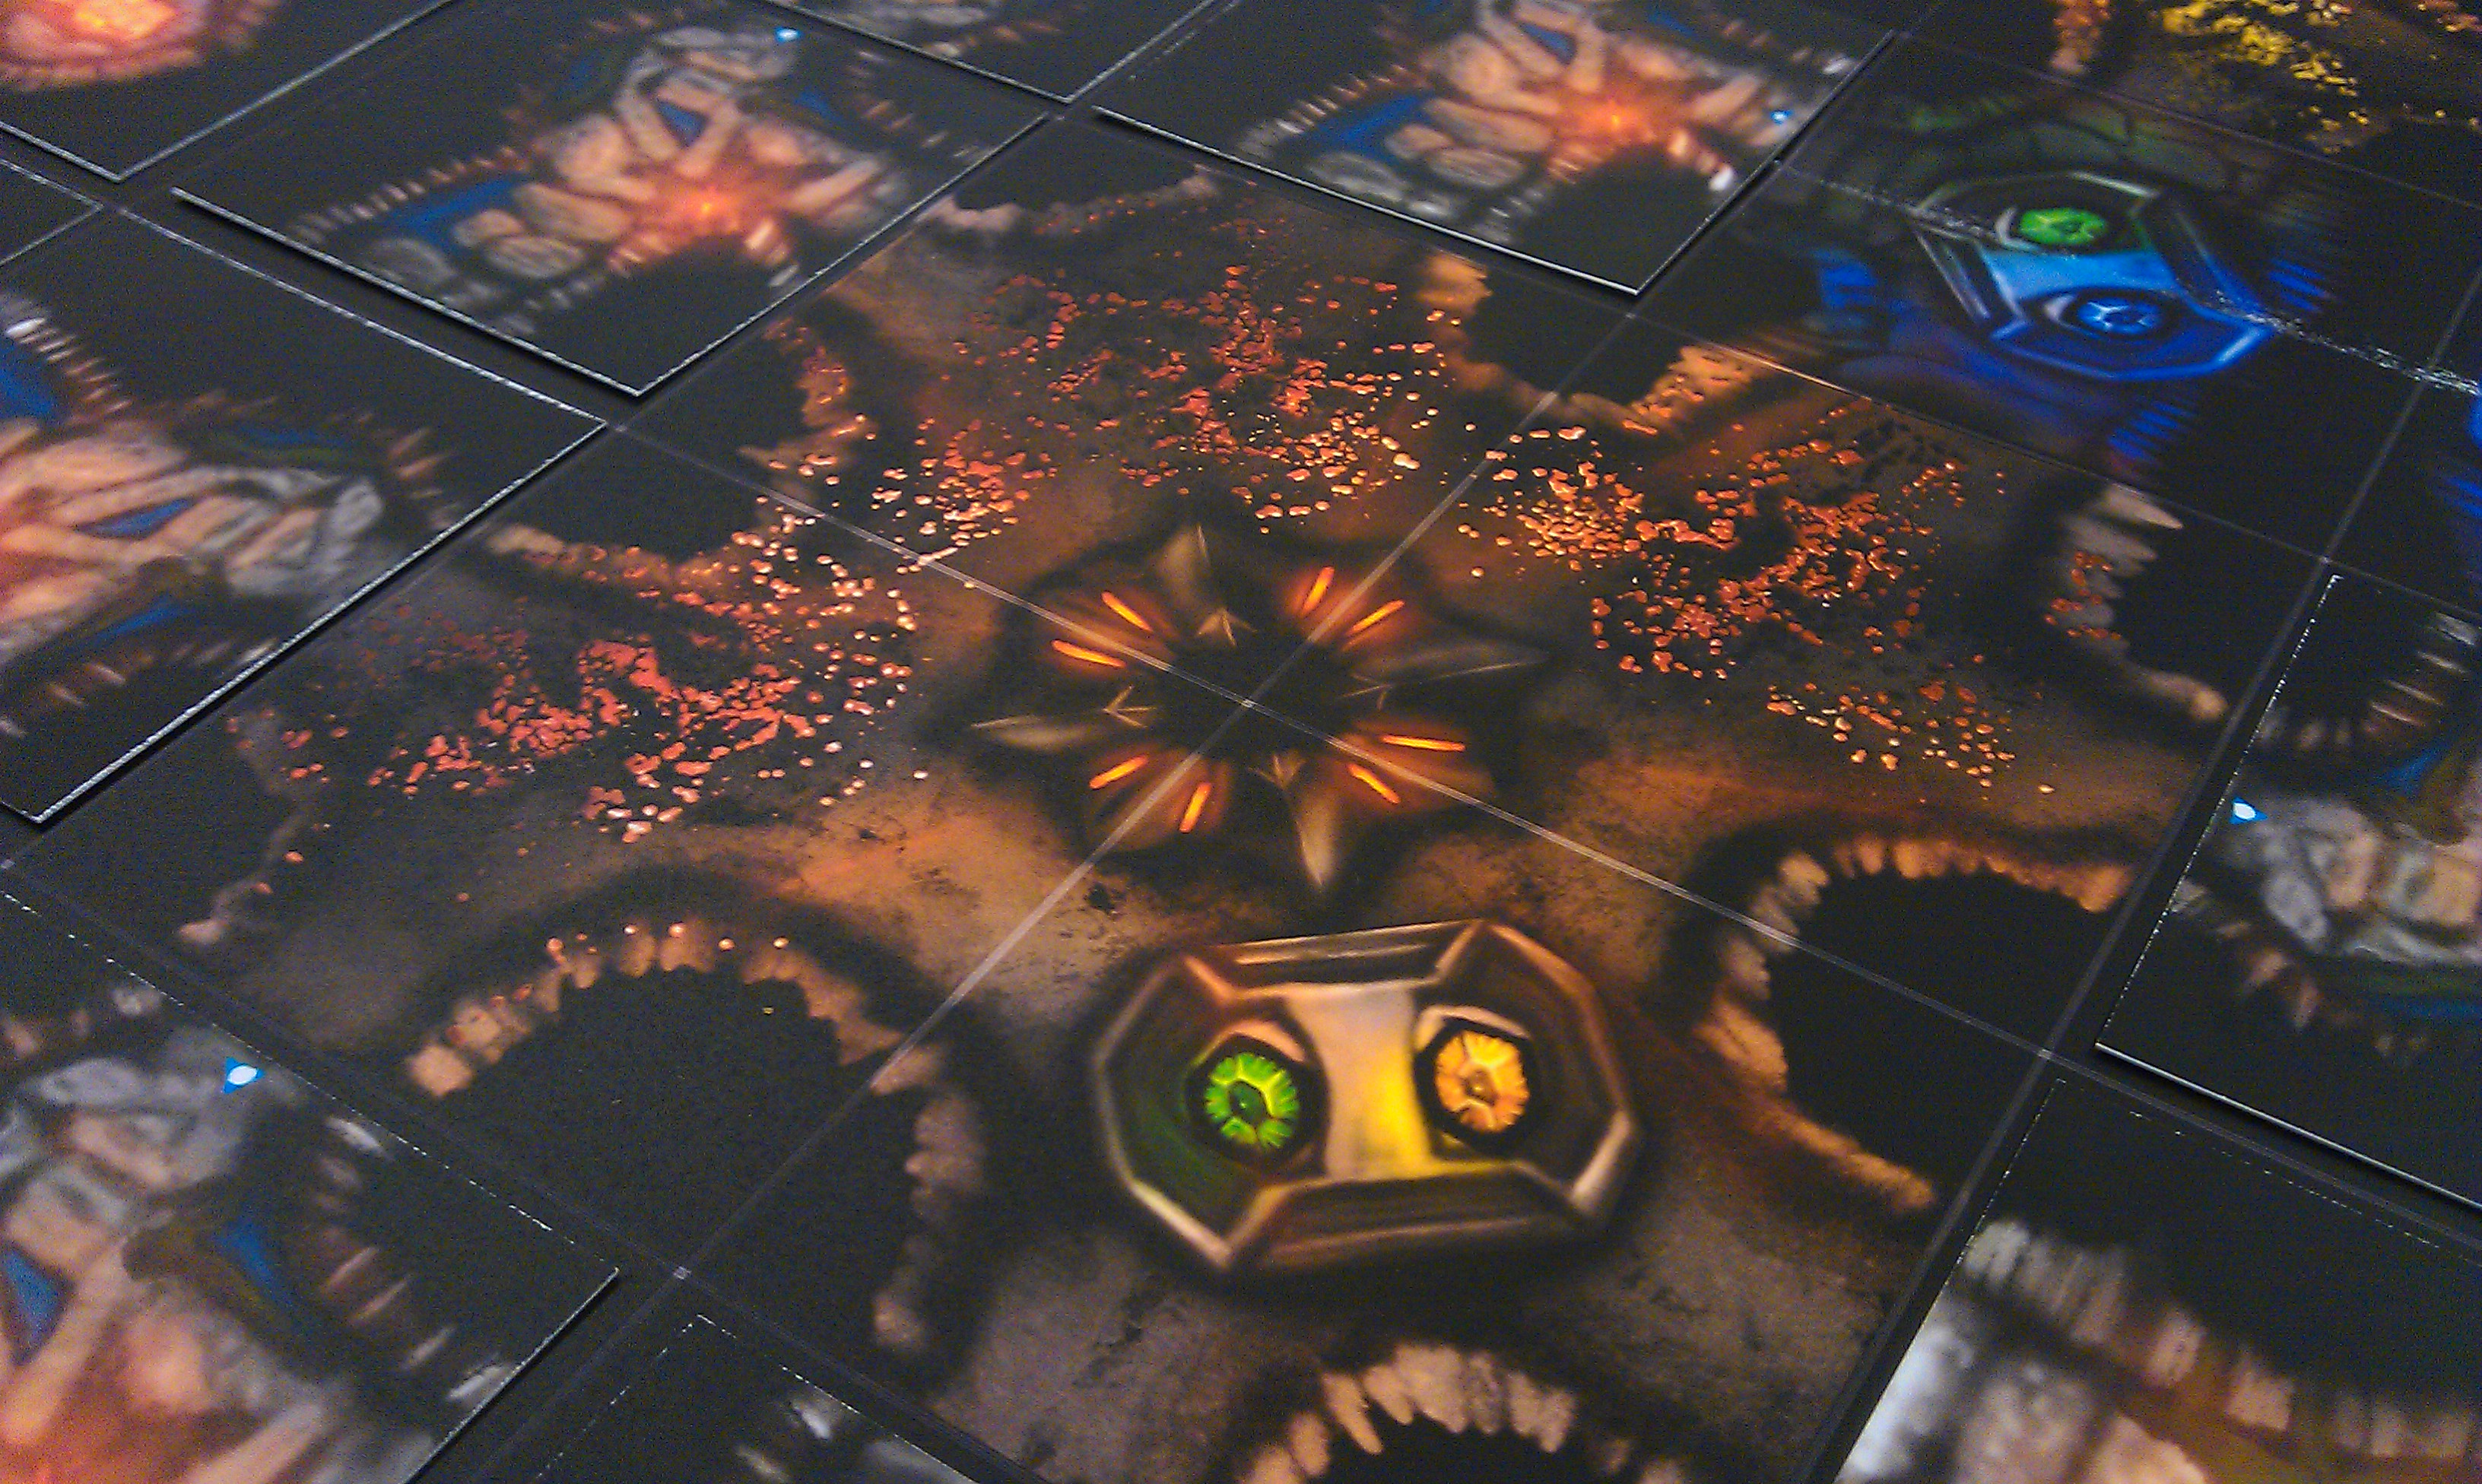
I use Specular maps on rare occasions now as before I didn’t know how to work with metallics or Roughness maps. But with practice I am learning how to make them faster and understand them better. So going from only using a specular map now I have to focus on making two more instead, but it does pay of as the result is much more pleasing. As I said I rarely use specular maps, but I did find a use for them and that is making black holes in materials, now if they might need them just as the firetrap on the first picture of this post.
To wrap this week up Everything seems to go fine, just a little bit hectic with finishing texturing on such a small time with so many details going into everything. But I will manage to cmplete everything that I have to do, I will just have to keep on working day and night.